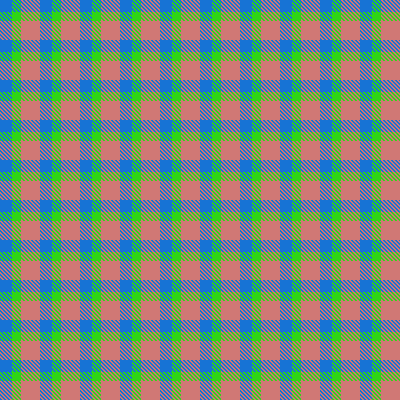
The fundamentals of the tartan cloth (plaid for americans) are well described on Wikipedia and are very simple. They are easy to reproduce on Gimp:
Creating the tartan "tile"

Creating the tartan "tile"
- Create a small square image (this will be your tartan "tile"). Its side must be a multiple of 4 (for instance, 40x40)
- Fill it with horizontal bands of color of different widths (usual tartan patterns use three colors, and there is a vertical symmetry).
- Duplicate the layer
- Rotate the top layer 90°
- Add a layer mask to the top layer
- Bucket fill the mask of the top layer with the attached TartanWarpMask pattern
- And there you are
You can export the image at that point and put it (as .PNG or .PAT) in your patterns folders for later use.
For an immediate test, do Edit ➤ Copy visible and select the "Clipboard" pattern (always first in the list) then bucket-fill
your target image with the pattern


