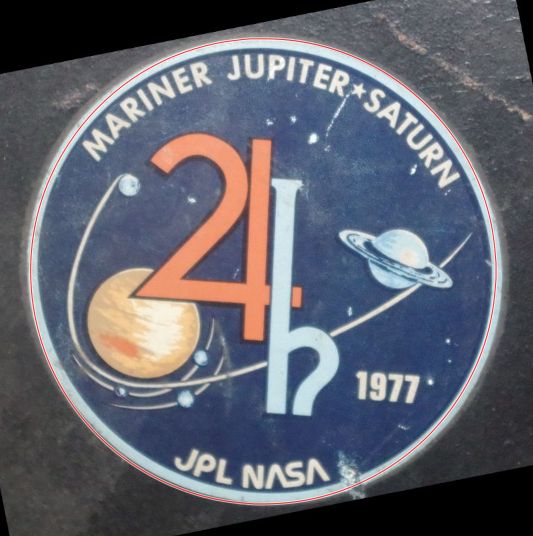
I'll suggest to kill two birds with one stone: 1) make the badge perfectly circular, and 2) get a selection on it:

- Use the ellipse select tool to make a selection around the badge, with a fixed aspect ratio set to 1:1. No need to have a perfect fit (you can't anyway).
- Once you have the selection, Select > To path, open the Paths list and make the Selection path visible by clicking where the eye icon should be.
- You will end up with something like this:
- Remove the selection (Select > None) (you can restore it quickly from the path anyway if ever...)
- You then use the perspective tool to make the badge fit better in the circle (make sure the Interpolation is set to NoHalo), and commit
- Your badge is now perfectly circular, and to get a selection on it you get it from the path (Select > From path), which, by design, is now the outline of your badge.
- To make the rest of the image black you use Select > Invert and then bucket fill (with Fill whole selection). The bucket uses the foreground or background color.
- You can also instead make the whole background transparent (Layer > Transparency > Add alpha channel) and then Edit > Clear or [delete].
For extra points: I now notice that your badge is slightly rotated, so a quick fix would be rotate this result. However this will introduce a bit more blur (you already added some with the perspective) but you can fix the perspective and the rotation at the same time (and so add blur only once) by using the "Unified Transform" tool instead of the plain Perspective tool above:
Just make sure you are using the Perspective handles in the corners (small squares) and not the Scale ones (large squares)


